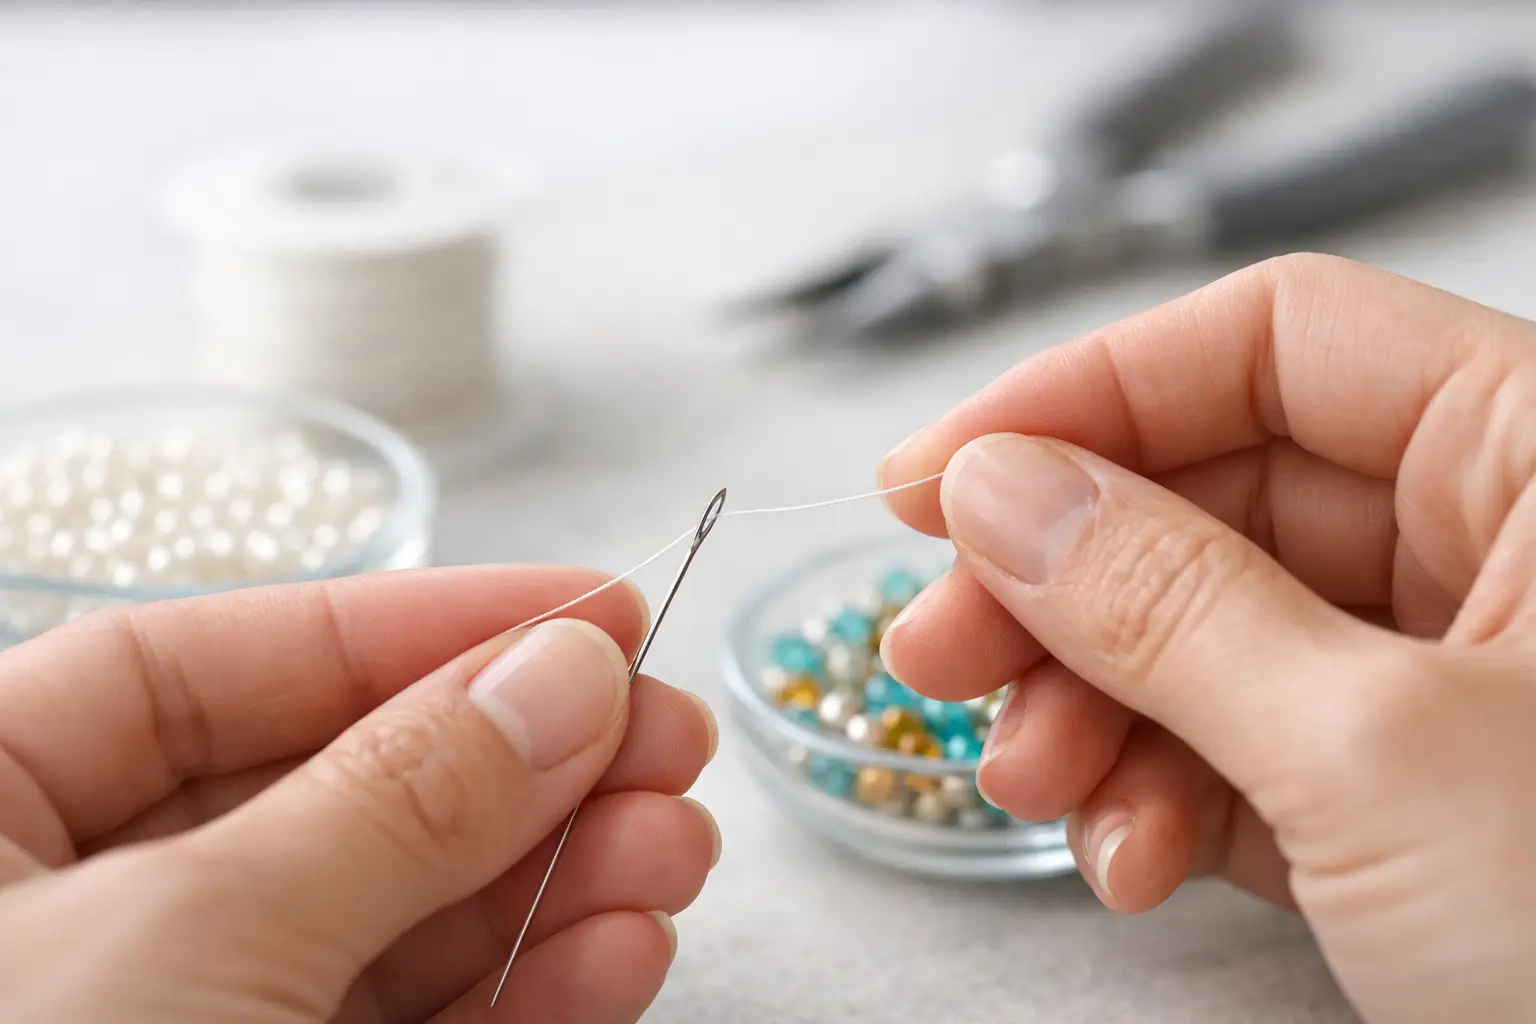
The awkward part usually is not the stitch. It is the first 30 seconds, when the eye of the needle seems smaller than the thread you are meant to pass through it. If you have been searching for how to thread a beading needle, the good news is that the process is simple once the thread, needle and technique are matched properly.
With beadwork, small differences matter. A size 10 or 12 beading needle behaves very differently from a larger sewing needle, and FireLine, KO, Nymo and S-Lon each have their own handling quirks. If threading keeps slowing you down, the problem is often not your eyesight or dexterity. It is usually a mismatch between the needle eye, thread condition or the method being used.
How to thread a beading needle without fraying the thread
Start by looking at the end of your thread. If it is fluffy, split or bent, cut it cleanly with sharp scissors or a thread cutter. A fresh, straight end will always pass through more easily than one that has already been handled too much.
For most beadweaving threads, pinching the cut end between your finger and thumb helps flatten it. With softer threads such as KO or Nymo, some makers lightly moisten the tip or run it through their fingers to compress the fibres. That can help, but only if used sparingly. Too much moisture softens the end and can make it buckle rather than slide through the eye.
Hold the needle steady rather than chasing the eye with the thread. Many people instinctively move both hands at once, which makes the fine opening harder to line up. It is usually easier to brace your hands on the table, keep the needle still, and push the thread directly towards the eye in one controlled movement.
If the thread passes through but immediately slips back out, pull through a longer tail than you think you need. For bead embroidery or loom work, a short tail may be enough. For off-loom stitches such as peyote or brick stitch, a longer tail gives you more control while starting the first few rows.
Match the needle to the thread first
If threading feels impossible every time, check the pairing before assuming the needle is at fault. Fine English beading needles and Japanese beading needles are designed for small beads, but the eye is correspondingly narrow. A thread that is technically compatible with the bead hole may still be awkward to thread if the needle size is too fine.
FireLine is a common example. It is popular because it resists tangling and gives good structure, especially with Delicas and other uniform seed beads. But it can be slightly stiff and flattened, which means the cut end does not always behave like a soft thread. A clean diagonal cut often helps. If you are using a heavier weight than the project really requires, moving to a slightly larger needle can save time.
Softer threads such as KO and Nymo are generally easier to compress through the eye, but they fray more readily after repeated passes. That means the first threading may be easy, while rethreading later becomes more awkward. In that situation, cutting back to a fresh section of thread usually works better than fighting a worn end.
There is also a practical trade-off. A finer needle threads through small beads more easily, especially if you need multiple thread passes. A slightly larger needle is easier to thread by hand. The right choice depends on whether your project is limited by bead hole size or by thread handling.
The easiest method for different needle types
Not all beading needles are threaded in quite the same way.
Standard eye beading needles
These are the most familiar option and the best choice for many seed bead projects. For a standard eye needle, cut the thread cleanly, flatten the tip, hold the needle eye up against a plain background, and push the thread through. Good lighting makes a noticeable difference here. Daylight or a task lamp often matters more than any special gadget.
If you wear magnifying glasses for close work, this is exactly the stage where they save time. For makers working regularly with size 15 seed beads or very fine needles, magnification is not a luxury. It is a practical tool.
Big eye needles
Big eye needles open along most of their length, so they are much easier to thread. You gently pull the sides apart, insert the thread into the centre opening, and let the needle close around it. They are useful when you are working with softer cord, ribbon-like thread, or simply want to avoid repeated fiddling.
The trade-off is flexibility and profile. Big eye needles can be less suitable for very tight beadweaving paths, and some makers find they wear differently with repeated use. They are convenient, but not always the best option for dense work with small Japanese seed beads.
Twisted wire needle threaders and other aids
If hand-threading is difficult, a fine wire threader can help, provided it is delicate enough for beading needles. Insert the wire loop through the eye, pass the thread through the loop, and pull it back through the needle. This is straightforward, but with very fine needles the threader itself may be too thick or may bend out of shape quickly.
That is why many experienced beaders still thread by hand for size 10, 11 or 12 needles. A threader is useful, but it is not always the quickest answer.
Why your beading needle will not thread
When a needle refuses to thread, there is usually a specific reason.
The most common issue is a damaged thread end. Even a slight flare makes a difference at this scale. Cut off a few millimetres and try again.
The next issue is choosing too much thread at once. If you are doubling the thread through the eye, remember that this increases bulk immediately. Some techniques need a doubled thread, but many beadweaving projects are worked with a single strand. If the needle eye is very fine, doubling may simply not be practical.
Another common problem is a burr or slight damage at the eye of the needle. Beading needles are slender and can distort with use, particularly if they have been bent during stitching. If the thread snags repeatedly at the eye, try a new needle rather than forcing it. The cost of replacing a needle is low compared with the irritation of wasted thread and interrupted work.
Lighting and background also matter more than people expect. Holding a silver needle against a cluttered work surface makes the eye difficult to see. A plain dark card or bead mat behind the needle gives clearer contrast.
How to thread a beading needle for seed bead projects
Seed bead work places extra demands on the setup because you are often using fine needles and thread for extended stitching sessions. A threading method that works once is not enough. It needs to be repeatable.
For Delicas, round seed beads and multi-pass stitches, start with the finest thread that still gives the strength and drape you need. If your design requires several passes through the same bead, overbuilding the thread from the start can create problems later. In those cases, easier threading at the beginning may come from using a thread and needle combination that is slightly finer overall.
It also helps to prepare more than one needle if you know the project will involve joins or thread changes. Many makers working on beadweaving patterns keep a second threaded needle ready to avoid breaking concentration midway through a row. For anyone producing repeat designs for sale, that is not a small convenience. It keeps the work moving.
If you are buying materials for regular beadwork, it makes sense to keep a small range of compatible needles and threads rather than relying on one combination for every pattern. CJ Beaders stocks the usual beadweaving options, so it is practical to build out a setup that suits Delicas, Czech multi-hole beads and different stitching styles without piecing it together from several suppliers.
Small adjustments that make threading easier
A few habits make a noticeable difference over time. Use sharp cutters rather than tearing thread. Replace bent needles before they become frustrating. Store threads so the ends stay clean and untangled. Work under proper light, especially in the evening.
If your hands are dry, thread can slip around rather than stay compressed. If your fingers are too damp, the end can soften and spread. There is a balance, and it varies by thread type. FireLine tends to respond well to a crisp cut and firm handling, while KO and Nymo often benefit from gentle flattening.
Patience helps, but method helps more. Most threading problems are mechanical, not personal. Once you know whether the issue is the needle size, the thread condition or the tool choice, it becomes much easier to fix.
A beading needle is a small part of the project, but it sets the pace for everything that follows. Get that first step right, and the rest of the work usually feels far more straightforward.