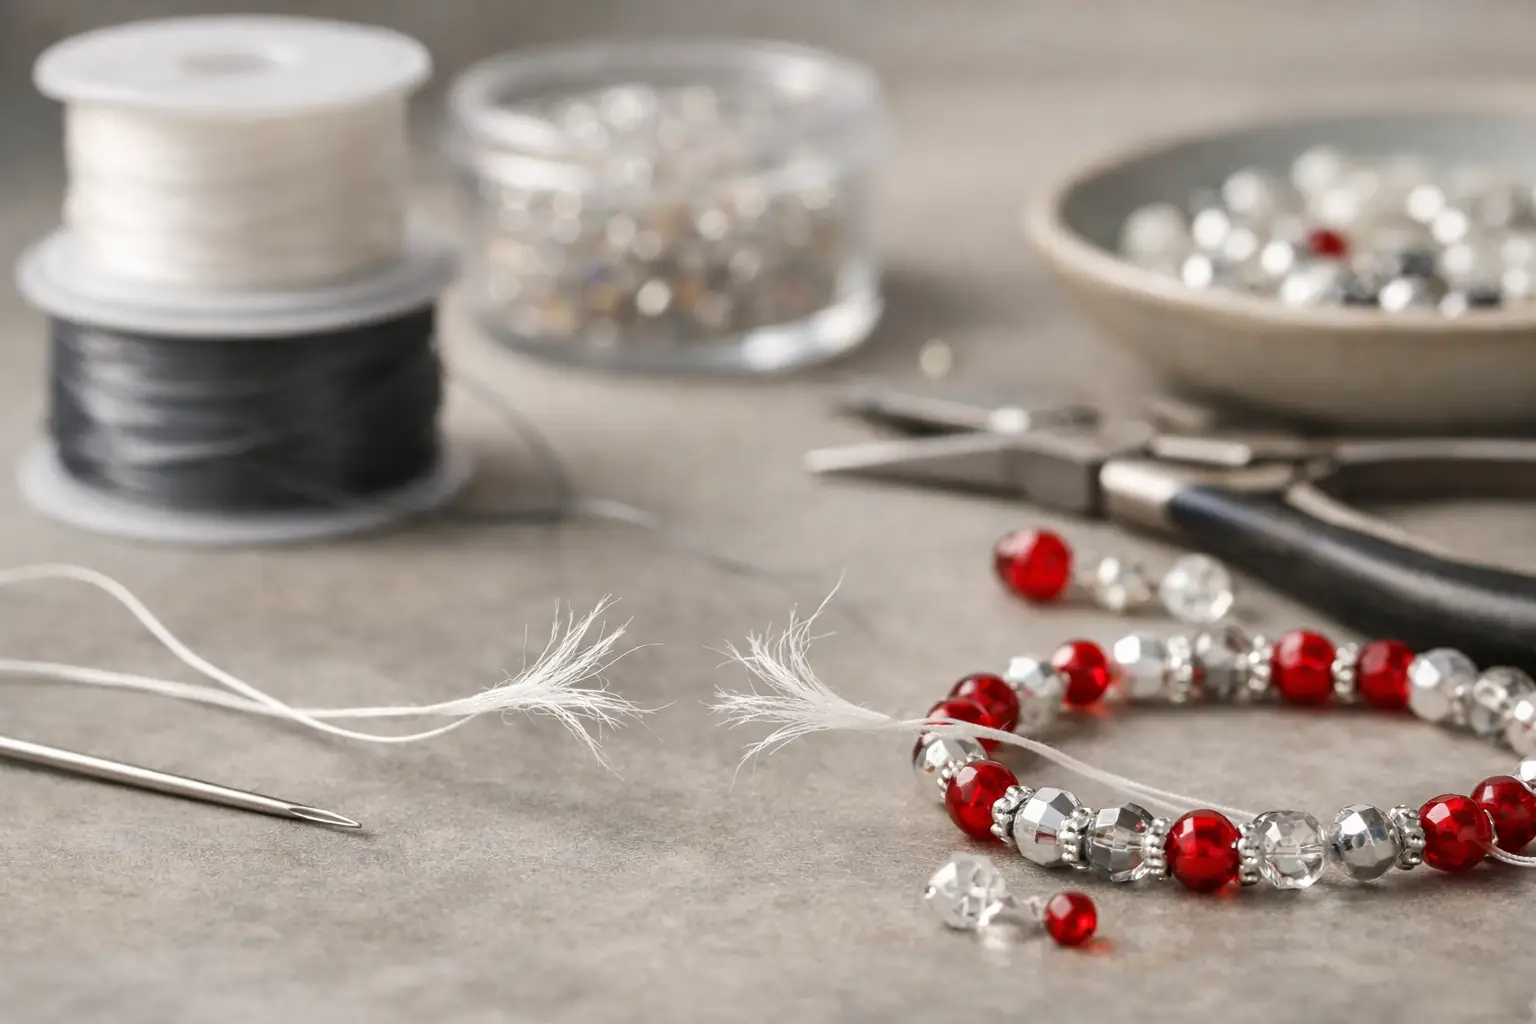
A thread that starts clean and tidy can turn fuzzy surprisingly quickly, especially when you are several repeats into a loom band, peyote panel or multi-hole bead design. If you have been asking why does beading thread fray, the short answer is friction - but the real answer is usually a mix of thread type, bead edges, needle size, tension and how many passes the pattern demands.
Fraying matters because it is often the first warning sign before thread weakens, snags or parts completely. For beadweavers working with Miyuki seed beads, Delicas, Czechmates and other precision ranges, even a small mismatch between bead hole, thread diameter and number of passes can show up quickly.
Why does beading thread fray in the first place?
Beading thread frays when its outer fibres or coating are worn away by repeated contact. Every pass through a bead hole, around a finding, or through a tight turn adds abrasion. Some threads resist that better than others, but none are immune if the conditions are harsh enough.
With softer nylon threads such as Nymo or KO, fraying often looks like fluffing or splitting near the needle or in sections that pass repeatedly through the same beads. With braided lines such as FireLine or WildFire, wear can show as flattening, roughened sections or a stripped coating before the thread starts to fail. Silk can abrade beautifully at first but dislikes sharp edges and repeated drag through tight holes.
The reason this can feel unpredictable is that one project may run smoothly while the next, using a similar stitch, starts shredding thread within minutes. Usually that comes down to the materials combination rather than one single fault.
The most common causes of thread fraying
Bead holes are too tight or too sharp
This is the first place to look. Even good-quality beads can vary slightly, and some bead families naturally have tighter holes than others. If the hole is small for the thread you are using, every pass creates pressure. If there is a rough internal edge, that pressure becomes abrasion.
Cylinder beads, round seed beads and multi-hole Czech beads all behave differently. A design that is comfortable in one Miyuki size may become hard going in another finish or shape. Czech glass can be excellent for structure and style, but some pieces have more irregular hole edges than precision Japanese seed beads. When a pattern needs several thread passes, those small differences matter.
The thread is too thick for the project
A heavier thread can improve strength, but only if it actually suits the hole size and stitch path. If you force a thick thread through crowded beads, it rubs harder against the glass and against itself. That is when you start to see fuzzing near stress points.
This is a common trade-off in beadweaving. A finer thread gives easier passage and cleaner drape, but may need more care around clasps or high-wear sections. A thicker thread may feel reassuring at the start, yet become the reason the work frays as you add reinforcing passes.
The needle is too large, bent or burred
Beading needles do wear out. A slightly rough eye, a tiny burr, or a needle that has bent enough to scrape bead holes can damage thread repeatedly. Sometimes the fray appears near the needle end first, which is a useful clue.
If your thread keeps splitting during stitching rather than after several rows, inspect the needle before blaming the thread. Needles are consumables, and changing to a fresh fine beading needle often solves a surprising amount.
Your tension is too tight
Tight tension gives crisp structure, but over-tight tension creates drag. If you are pulling hard on every stitch, the thread is effectively sawing against bead holes. This is especially noticeable in dense stitches, thread-heavy bezels and patterns built around multiple-hole systems where the path turns sharply.
Good tension is controlled rather than forceful. The work should hold its shape without the thread sounding or feeling strained as it passes through.
Too many passes through the same beads
Some designs simply ask a lot from the thread. Reinforcement, embellishment and finishing passes all add friction. A thread that behaves perfectly for the first two passes may begin to break down by the fifth or sixth, particularly in smaller seed beads.
This is where planning matters. If a pattern uses repeated passes through size 15/0s, Delicas or tight junction points, choosing the right thread from the start is more effective than trying to rescue the project halfway through.
Thread type makes a real difference
If you work across different techniques, you will already know there is no universal best thread. The right choice depends on bead size, stitch style, drape and how much abrasion the design creates.
Nymo and KO thread are popular for beadweaving because they are supple, easy to handle and available in useful colours. They are excellent in many seed bead projects, but they can fray if worked too hard through sharp or crowded holes. Conditioning may help handling, though it does not fix a poor bead-to-thread match.
FireLine and WildFire are more abrasion resistant and are often chosen for crystal work, tighter beadweaving and patterns needing strength. That said, they are not indestructible. If the coating wears away through repeated friction, they will still roughen and weaken.
S-Lon and similar nylon cord-style materials are useful in the right applications, though less suited to very fine multiple-pass beadweaving. Griffin silk has advantages for knotting and certain stringing styles, but in dense woven structures it can wear faster than braided alternatives.
So if you are still asking why does beading thread fray, the answer may simply be that the thread is appropriate in general but not ideal for that exact pattern.
How bead choice affects wear
Miyuki beads are valued for consistency, which helps reduce unnecessary abrasion because the holes and edges are generally more uniform. That does not mean every finish and every shape behaves identically. Metallics, higher-friction coatings and narrow-holed sizes can all change how the thread moves.
With Czechmates and other multi-hole beads, the issue is often path complexity rather than quality alone. Multiple-hole designs create structural possibilities, but they also create more turns, more directional changes and more pressure points. If you are using a stitch that doubles back through the same holes, thread wear increases naturally.
It is also worth checking findings. Jump rings, clasps, wire guards and metal components can all abrade thread if the contact point is rough or too tight. Fraying near the clasp usually points to hardware rather than beadwork.
How to reduce fraying without changing the whole project
Start by looking at where the damage appears. If it is at the working end, replace the needle and cut back to fresh thread. If it happens in the same section of the design each time, inspect those beads and remove any with visibly rough holes.
If the thread feels crowded, move to a finer diameter or reduce the number of reinforcement passes. If the work needs strength as well as repeated passes, a braided beading line may be the better option than a soft nylon thread. If the project is delicate and drapey, the finer nylon may still be right, but only if the bead holes are generous enough.
Slowing down helps more than many beaders expect. Pulling thread in a straight line rather than at an angle reduces scraping. Shorter lengths can also help because heavily worked long threads build up wear before you even finish the row.
For advanced beadwork, it is often sensible to test the full path before committing to a large piece. A small sample will tell you whether the thread, needle and bead combination can survive the required passes.
When fraying means you should stop and restart
Sometimes the practical answer is not to coax the thread through one more round. If it has visibly flattened, split or gone fluffy across a load-bearing section, continuing is risky. This matters even more on commission work, repeatable product lines and anything intended for sale.
Restarting with a better-matched thread can save far more time than repairing a broken section later. For makers who depend on consistency, it is worth keeping a small range of thread types and sizes on hand rather than trying to make one product cover every technique.
A dependable beading setup usually comes down to matching the whole system - beads, thread, needle, findings and stitch structure - rather than choosing the strongest thread in isolation. If you need to compare options across FireLine, WildFire, KO, Nymo, S-Lon and related supplies, CJ Beaders stocks the supporting materials that let you build that match properly. A little testing at the start usually prevents the sort of fraying that only shows up once the design is too far along to be convenient.