
|
|

We know from numerous face-to-face and phone conversations with beaders that many of you are aware of Miyuki's own website. But did you know there's also a Japanese version of it too, with a whole new load of information on there? We're going to show you how you can get to this website and some of the great information that's on there!
Accessing The Website
You can find the website two ways:
1. Simply go to the web address https://www.miyuki-beads.co.jp/
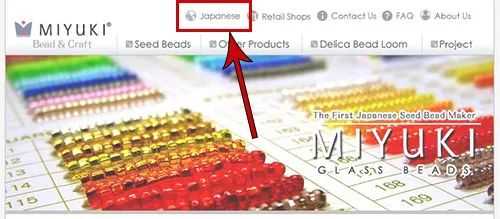
2. On their English version of the website, at the top of their page there's a link to the Japanese website - just click on it!
If this is the first time you've been on this website, you may notice it's all in Japanese - of course! Your web browser should have the option to 'Translate' - in the top right hand corner of the page you should see three vertical dots, click on this and choose the option 'Translate'. On the pop up box, make sure you tick the 'Always translate Japanese' box so every time you visit the web page it automatically translates it for you.
![]()
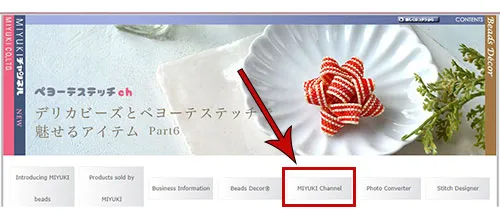
We're going to take a look at the Miyuki Channel section which you can find by clicking on the link on the Home page.
| The Miyuki Channel section is a free resource showing how you can use Miyuki beads in different ways, along with links to downloadable PDF's and videos. Please note, the PDF's are in Japanese, however they do have pictures and diagrams that you can easily follow. Alternatively, there are free websites where you can upload the PDF and it will translate it for you. |
You'll see there are lots of different options to choose from; we're taking a quick look at the Peyote Stitch channel as this is one of the most popular off-loom bead stitches favoured by beaders. This section focuses on how to do Peyote stitch in both flat and tubular form, and gives you instructions that allow you to build on your skills as you work through them.
To see all the episodes in this section simply click on the button 'Click here for all 6 episodes'.
| The first episode focuses on what Delica beads are, how to do Peyote stitch and creating a simple band ring using Peyote stitch. As you scroll down you can see the different colour beads they've chosen, along with the Miyuki thread they've used, if you want to recreate a particular design. |
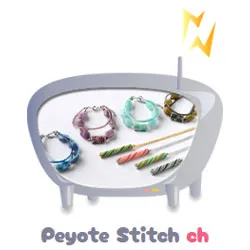
| The second episode builds on the knowledge in the first episode by creating longer strips of Peyote bands and joining them to different styles of Miyuki findings. Again they also show you the bead colours they've picked. |
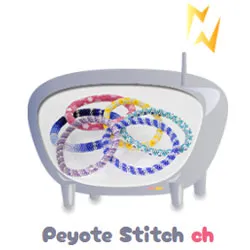
| The third episode goes further into what you've learned by showing how you can zip up strips of Peyote bands into tubes to create pendants. It mentions using 'bead aligners' to both ends of the tube to help attach it to a necklace, however if you struggle to get hold of these you can easily top and tail the beaded tube with two flat spacer beads, then hang the whole ensemble off a headpin (you may need to stuff your tube with rolled paper to help it keep its shape and stop it looking unbalanced on the headpin). |
| The fourth episode then looks at creating a tubular peyote stitched bangle, with an elasticated core. Further down the page they give you a few different design ideas to try, along with the bead colours they chose. |
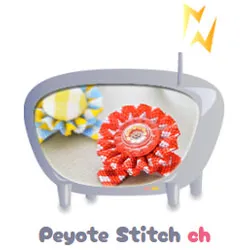
| The fifth episode shows how you can create a 'rosette' style design by gathering a sheet of peyote stitched beads together and embellishing it with a centre focal and ribbon style ends. |
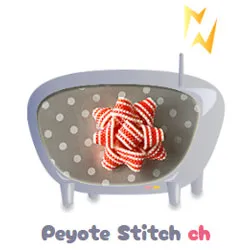
| The sixth episode then takes you through how to create a cute brooch that looks like a gift wrapping ribbon - great for special presents that you want to embellish and reuse as jewellery! |
Have fun checking out the different designs and watching the videos - there's so much in the Peyote channel that you can try and we'd encourage you to give everything a go to enhance your skills.