
Are you looking to get into fabric beading, but not sure where
to start? CJ Beaders put together this list of simple step by step instructions
on how to bead on fabric which will get you beading in no time.
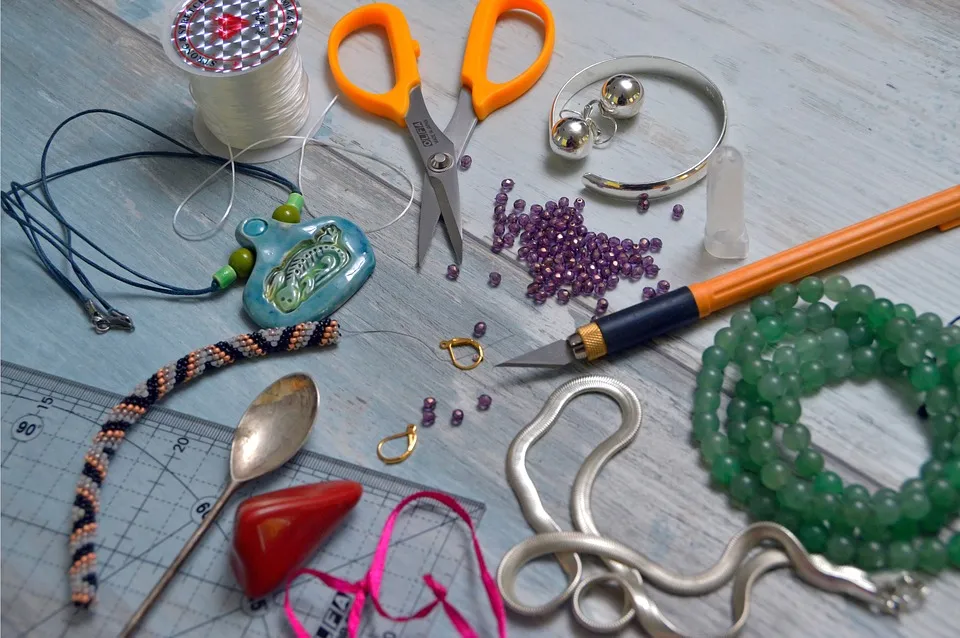
Before you start, you need to make sure you have the right jewellery making tools
for the task, these include:
Beads
You can use almost any beads to sew on fabric. Seed beads are
the ones most commonly used by beaders as they are quite small, but you can use
any beads you like and they should work just fine with the instructions
provided below. Browse through the collection of our popular Miyuki Japanese beads for
some inspiration.
Miyuki Beads come in two types – seed beads or Delicas.
Both have larger holes than Czech Seed Beads –
important if you are going to make multiple passes through the beads. Seed beads
are round whereas Delicas are like miniature tubes (sometimes called cylinder
beads). Delicas sit much closer together than seed beads.
Beading Needle
You may be tempted to use a regular sewing needle when doing
your beadwork, but these tend to be thicker and have larger eyes than needles made
specifically for beading. Beading
needles are longer and thinner than regular needles and make it easier to
go through even the smallest of beads. Not sure which needles to pick? Check
out our guide
to beading needles.
Beading thread
Beading threads are
normally made out of nylon and are coated to make sure that the fibres stay
together and don’t fray. Just make sure to choose a thread that will blend with
the colour of your fabric.
Fabric
Last but not least, you want to make sure that the bead
foundation you use to bead isn’t too thick. Beading needles as slightly weaker
than regular needles and they can easily bend and break if the fabric is on the
thicker side.
Beading Tweezers
These are optional, but beads, especially smaller ones like seed
beads, can be tricky items to handle. Specialised tweezers and other pick
up tools make the task of stringing and handling beads much easier.
Have all your beading supplies ready? Then let’s get
beading!
Step 1 - Thread the Needle
To get started cut a little bit of your beading
thread and put it through the eye of your needle. Then, tie the ends of the
thread together into a little knot. You may find that cutting the thread at an
angle makes it easier to thread through the needle.
Step 2 - Begin Beading
Start by inserting the needle on the back of your fabric
(the one you not going to bead on) and pull it through the fabric making sure
that the knot stays on the back. Then make a couple of stitches in your fabric
to secure the thread.
Step 3 - String the Beads
Insert a
needle through the beads (you can use 1-3 beads at a time depending on the size
of the beads) and slide the beads down your thread until they lay flat against
the fabric. Don’t use too many beads at once as they can become loose which is
not going to look good.
Step 4 - Attach the Beads
Insert the needle next
to your last bead and pull it through the fabric. Your beads are attached!
Step 5 – Adding the Next Set of Beads
To attach the second set of beads, thread your needle back
through the fabric. Make sure it comes out right before the last bead in your
first set of beads
sewn onto the fabric. Then pull the needle and thread it through that last
bead. That will make sure there are no gaps between your beads when the new set
of beads is attached.
Step 6 – Repeat
You can now repeat steps 3 to 5 until you are happy with your
pattern.
We hope this post has given you a little insight on how to
sew beads on fabric and inspired you to get started on your beading projects. Check
out our blog for more useful guides and free beading patterns.
If you’re unsure on which beading supplies to pick or have any other questions, our team at CJ Beaders is always happy to chat about fabric beading or beaded jewellery making. Feel free to reach out to us on 01202 798151 or fill out our online contact form and we will get back to you.